Practical smoke and frag decisions, including safe practice and common mistakes.
Need to cross an exposed road or revive a teammate? Start with smoke. Need to pressure an opponent hiding behind cover? Consider a frag, provided your squad has a safe angle. Smoke hides sightlines; it does not stop bullets. A frag can damage you and teammates too.
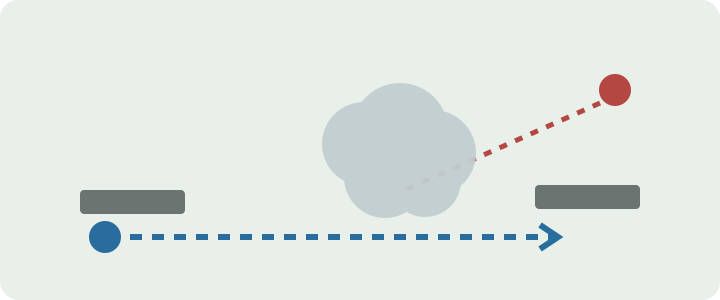
Conceptual diagram: red is the enemy, blue is your route, gray blocks are hard cover and the cloud is smoke. Smoke blocks sight, not bullets.
Use smoke to move
- Find the hard cover you want to reach before throwing. A smoke cloud is not a wall.
- Place smoke between the enemy's likely sightline and your crossing or revive, then wait until the cloud has formed. A single cloud may leave the sides open.
- Tell the squad which side you will use. Watch for a flank and move behind the cloud toward actual cover rather than standing in it.
If your teammate is down in the open, first look for a way to get them behind cover and have another teammate watch the approach. Smoke alone does not make a revive safe.
Use a frag to pressure cover
Choose a position where your throw clears the obstacle, check the projected arc, and warn nearby teammates. Move away from the landing area. If the enemy may already have moved, do not assume the explosion finished them: watch for an escape or a push.
Practise before relying on timing
In the training area, throw at a nearby wall, then at a rock farther away; compare where the arc ends with where the item actually lands. Test smoke deployment and frag timing in your current version, without holding a live grenade close to your team. Layouts and controls can differ across devices and updates.
Sources
Revision history
— Recently updated